Home »
» How To Draw A Trapezium In Photoshop - How Do I Create A Rectangle With A Trapezoid Bottom In Gimp Graphic Design Stack Exchange : Move your mouse to the right and up, then click again to create a point at the top of the hump.
How To Draw A Trapezium In Photoshop - How Do I Create A Rectangle With A Trapezoid Bottom In Gimp Graphic Design Stack Exchange : Move your mouse to the right and up, then click again to create a point at the top of the hump.. Photoshop's large lens correction dialog box appears, with a few tools along the left, a large preview area in the middle and several options for correcting lens problems along the right. What i would be more likely to do is the direct selection tool (white arrow) and pick two points on a single side of the primitive shape. Err on the side of cutting into your image. To draw a triangle shape, click inside your document and drag away from the starting point. Choose the rectangular grid tool, and click on the top left corner of the background.
Go to shape tool, and draw rectangle. What i would be more likely to do is the direct selection tool (white arrow) and pick two points on a single side of the primitive shape. For his torso, draw a second trapezium sticking out from below his head. To draw a triangle shape, click inside your document and drag away from the starting point. You want to create a rectangle that will become the new size and shape of your image.
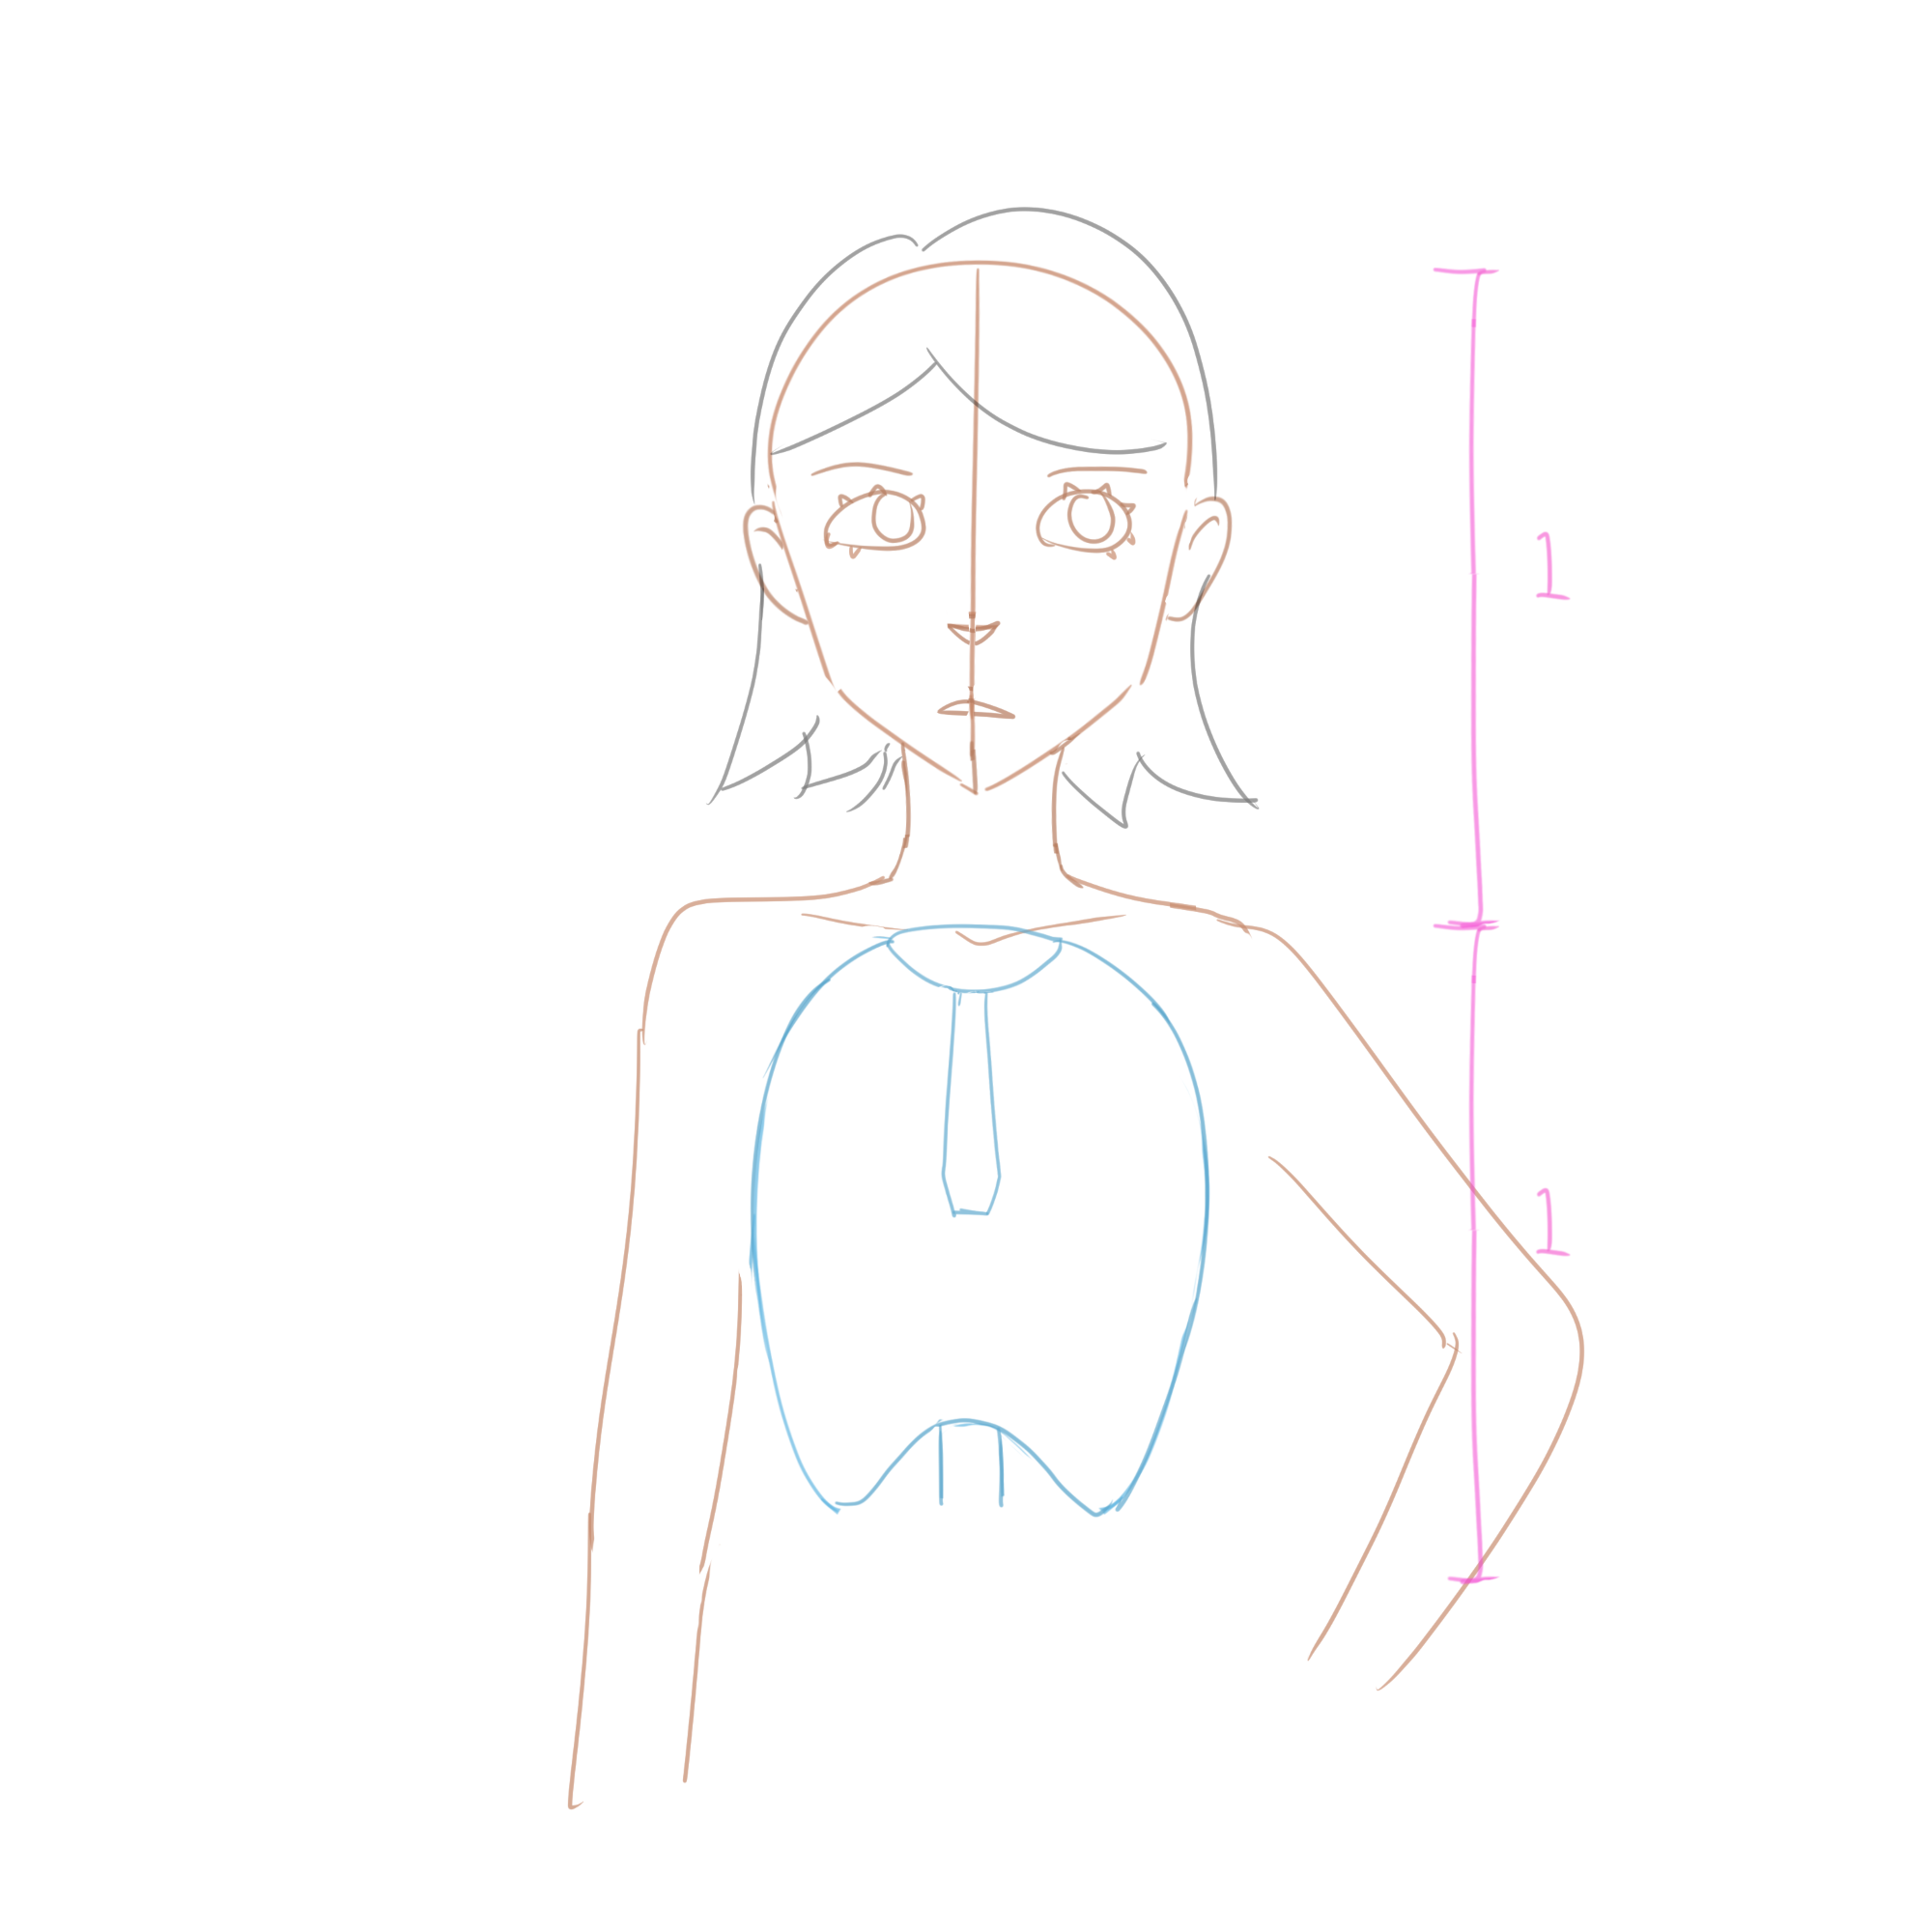
Wie Man Portrats Im Anime Stil Zeichnet Von Mistedsky Clip Studio Tips from celcliptipsprod.s3-ap-northeast-1.amazonaws.com Err on the side of cutting into your image. What i would be more likely to do is the direct selection tool (white arrow) and pick two points on a single side of the primitive shape. You want to create a rectangle that will become the new size and shape of your image. With any character sketch, the very first thing you'll need to do is to draw a very rough idea of the layout. Draw a horizontal rule by clicking on the and dragging into your image area. Select all the pink elements and unite them in the pathfinder. In this tutorial, we'll learn the essentials of working with shapes and shape layers in photoshop! To draw a triangle shape, click inside your document and drag away from the starting point.
Press delete, then save your image.
Draw a rectangle (m on keyboard)step 2: 2 click and drag to draw a rectangle to the upper left of your fish. This will become the frog's lower face (his chin and jaw) step 2: The first step is to allow yourself this period of complete lack of originality, says author and manga instructor mark crilley. In this tutorial, we'll learn the essentials of working with shapes and shape layers in photoshop! This automatically creates a new shape layer in the layers panel. Go to edit > transform > distort while your layer is selected. The idea is that you apply stretching (levels and curves) to the dim areas of your target, while leaving the bright core of the subject alone. If the polygonal lasso tool from the side isn't shown, click on the lasso tool to show the other lasso tools, then select the polygonal lasso tool. This is a video tutorial in the education category where you are going to learn how to draw an isosceles trapezoid. Hello friends.!want to learn the easiest way of making parallelogram in adobe photoshop cc or any version. What you can do is to draw a rectangle, drag the anchors until you get a trapezoid and add a border with the same color as the fill. Set outer stroke and round join.
Once you drag an anchor point from a rectangle you lose the ability to adjust the corner radius. Then draw a semi oval stuck to the base of the trapezium. For his torso, draw a second trapezium sticking out from below his head. You want to create a rectangle that will become the new size and shape of your image. When you release your mouse button, photoshop completes the shape and fills it with your chosen color.
How To Create Isosceles Trapezoid Graphic Design Stack Exchange from i.stack.imgur.com What i would be more likely to do is the direct selection tool (white arrow) and pick two points on a single side of the primitive shape. Now duplicate the triangle shape we have been made by going to layer> duplicate layer, or else by pressing ctrl+j. This automatically creates a new shape layer in the layers panel. Select the bottom anchor point and move it 15px to the right. 1/ drag three vertical guides at equal distances 2/ view>snap 3/ take rectangular selection tool and draw rectangle. Switch to the direct selection tool (a) and focus on the left, vertical path. What you can do is to draw a rectangle, drag the anchors until you get a trapezoid and add a border with the same color as the fill. Draw a horizontal rule by clicking on the and dragging into your image area.
Then either up arrow, down arrow, left arrow, or right arrow (or mouse if you prefer) to get the desired result.
To draw a triangle shape, click inside your document and drag away from the starting point. Draw a rectangle (m on keyboard)step 2: With your shape layer selected, use the move tool to move your shape around and reposition on the canvas. Move to the right and down, then click a third time to. Mark the point f so that fg = 3 cm. Change the stroke weight to.25 points. First you draw the long base. With any character sketch, the very first thing you'll need to do is to draw a very rough idea of the layout. Err on the side of cutting into your image. From the tools panel or the property inspector, set a fill color of white (#ffffff) and a stroke color of black (#000000). 2) duplicate that line using alt (option in macs) and making sure it's aligned by holding the shift key while dragging. Then draw a semi oval stuck to the base of the trapezium. Use the direct selection tool (a ke.
What you can do is to draw a rectangle, drag the anchors until you get a trapezoid and add a border with the same color as the fill. Now center the short base at the center point of the long base and mark the end points of the short base with dots. Now duplicate the triangle shape we have been made by going to layer> duplicate layer, or else by pressing ctrl+j. 1 choose the rectangle primitive tool () located under the rectangle tool on the tools panel. When you release your mouse button, photoshop completes the shape and fills it with your chosen color.
Solved Make Rectangle From Trapezoid Adobe Support Community 10112870 from community.adobe.com Then either up arrow, down arrow, left arrow, or right arrow (or mouse if you prefer) to get the desired result. In this tutorial, we'll learn the essentials of working with shapes and shape layers in photoshop! 1) draw any line, using the line tool or even the pen tool. 1/ drag three vertical guides at equal distances 2/ view>snap 3/ take rectangular selection tool and draw rectangle. Draw a horizontal rule by clicking on the and dragging into your image area. Choose the rectangular grid tool, and click on the top left corner of the background. Move your mouse to the right and up, then click again to create a point at the top of the hump. How to draw trapezium adobe photoshop
Make one more layer, this time above the background layer.
Now draw a trapezium cutting the model diagonally. With your shape layer selected, use the move tool to move your shape around and reposition on the canvas. But, i rarely draw on photoshop, and doing the most drawing on illustrator, but for simple task those functionality can be handy. This video demonstrates how to draw an isosceles trapezoid with a long base (b), a short base (b) and a 35 degree angle. Draw a rectangle switch to the hollow (direct) select tool drag an drop a selection over 2 corners of your rectangle (2 selected vector points will be solid, the hollow ones are not selected and remain stationary) switch to scale tool, hold down shift and scale nudge your selection if needed 2 likes Create a new 800 x 800px canvas (ctrl + n) with a white background, and you're ready to begin. Set outer stroke and round join. This automatically creates a new shape layer in the layers panel. Change the stroke weight to.25 points. Neue plattformübergreifende funktionen zum sicheren bearbeiten pixelgenauer bilder. Aspiring manga artists can learn by trying to replicate particular comics or cartoons that inspire them. With the pen tool selected (and design checked below the toolbox—see above) click once in the middle of the document to create the first point in the cleavage of a typical heart symbol. Mark the point f so that fg = 3 cm.


Tidak ada komentar:
Posting Komentar